An Organized Multi-Purpose Closet
Do you have a space in your home that has to work hard to serve multiple purposes? We have a few in our home. Small space living tends to necessitate the need for multi-purpose spaces.
Today I thought it would be fun to share how I took our master closet from chaotic clutter and turned it into an organized multi-purpose closet.
An organized multi-purpose closet can be a great way to keep the rest of your home clutter-free.
When I started this blog way back when I promised myself and you that I would only show our real life, unstaged, organizing projects. This one is no exception, but I hesitated to share it with you.
For six months I have been going back and forth about sharing this space. You’re not going to find Pinterest worthy after pictures in this post. I didn’t go buy matching bins and baskets or do anything to make this space look pretty.
But organizing isn’t always about making it pretty. In fact, organizing is about making something functional. Making it easy to access what you need often and store what you only need occasionally.
It’s about creating a home for your belongings so you know where to find them. Our master closet checks all those boxes. Maybe one day I’ll make it pretty but for now, it’s working for us and that’s really all that matters.
How to Organize a Multi-Purpose Closet or Any Other Space
I have a system or process that I follow every time I go to organize any space in our home. The steps help me figure out what we need from that space and how we use it so I can figure out the best way to organize it.
The goal of organizing any space is to make it work for our family. That means it needs to be easy to find what we need and easy to put it back. Maintaining the system is always easier if you organize it to work for you.
I’ll walk you through my process step by step and share how I applied it to our master closet.
If you’d like to plan things out on paper you can check out my closet planner printables. It follows my process fairly closely.
Define the Space
Before I even think about decluttering I start by defining what the space is for us. What purpose does it serve? How do we use it? Who uses it?
Answering these questions allows me to pick a direction to go in when I’m organizing. They provide me with boundaries.
Master Closet – where we keep our clothes and items we need to get dressed every day. Is our only linen closet. Needs to house our printer and office overflow items. Acts as excess storage for items that can’t be housed outside year-round.
Determine What Need to Be in the Space
One I’ve defined the space it’s time to think about what needs to be in the space. This might seems like a no-brainer step but it helps to reinforce the boundaries we started making in step one.
This doesn’t need to be an itemized list. Think in broad categories, such as video game stuff belongs in the family room, baking tools belong in the kitchen. Having a clear idea of what needs to be in your space before you start organizing can help make it easier to know what to remove and what to bring in.
Master Closet – clothes, linen stuff, office stuff, printer stuff, items that need an inside home.
Take a Before Picture
I like to take pictures. Not because I share them here, but because I like to remind myself of what I started with. It’s very satisfying to hold up a before picture while looking at your freshly organized space.
In addition to the satisfaction of seeing where I started from, these pictures help motivate me to keep going when I want to stop. They show me that I’m making progress even when it feels like I’m not.
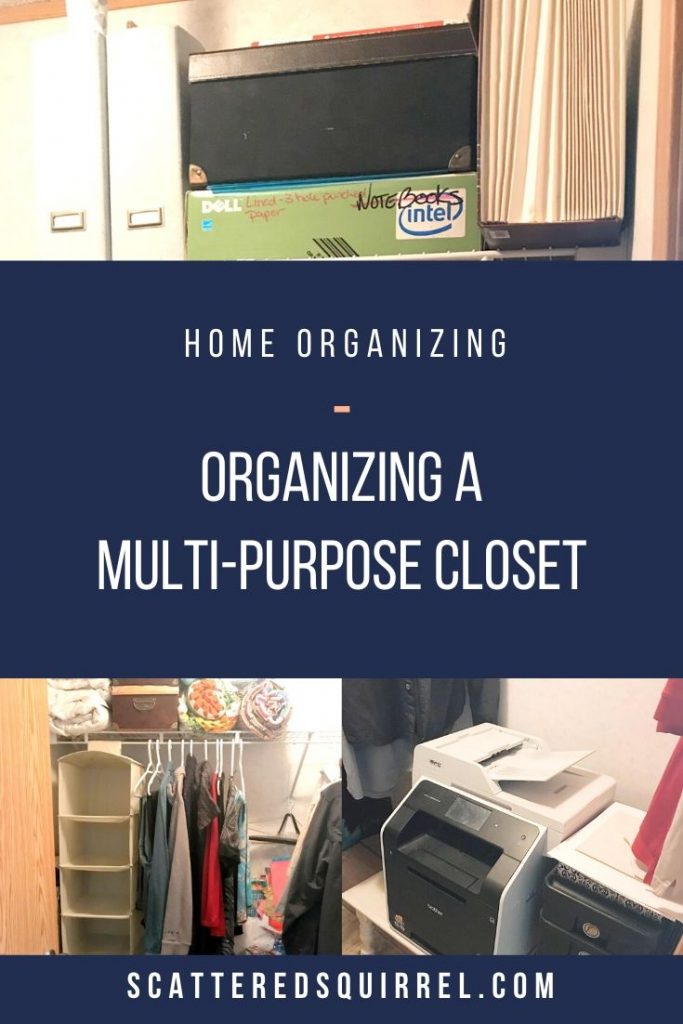
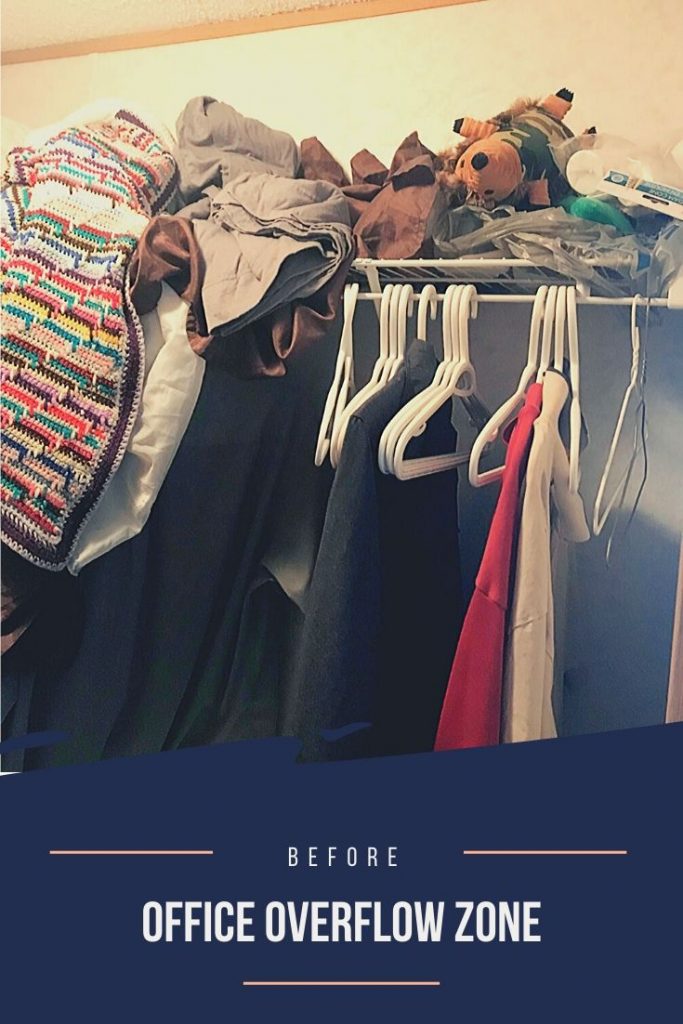
I apologize for the lighting in these photos. Our closet gets zero natural light and it’s location makes it very hard to get extra lights in it.
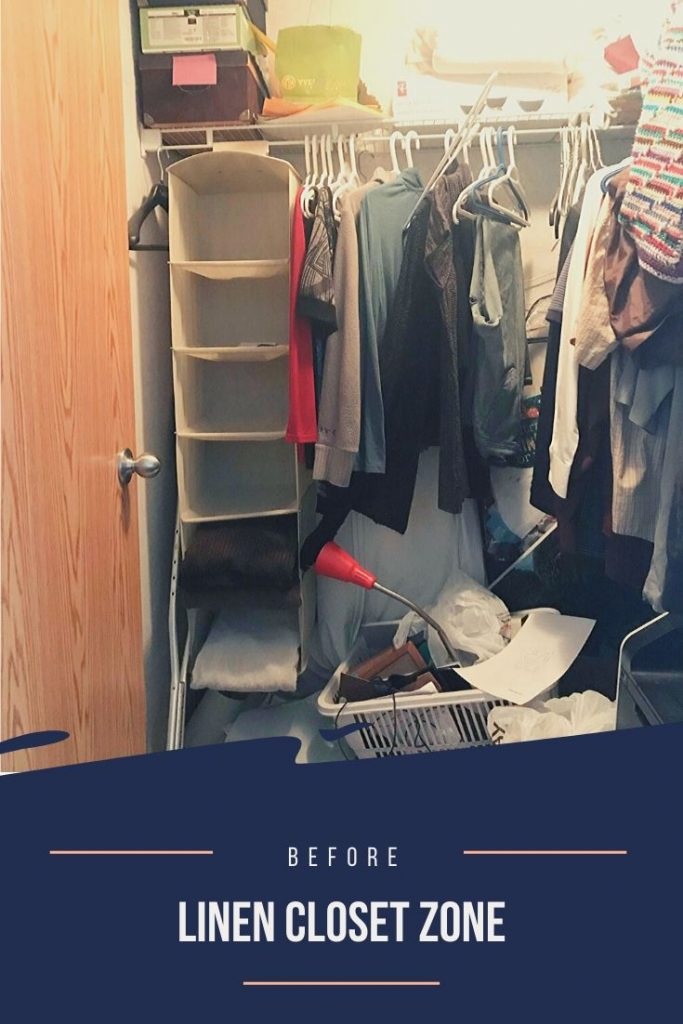
I cringe looking at these before photos, but this is our real life. I let the closet get out of hand for a long time. Partly because I was waiting to be able to make it pretty and mostly because I had failed to define and determine.
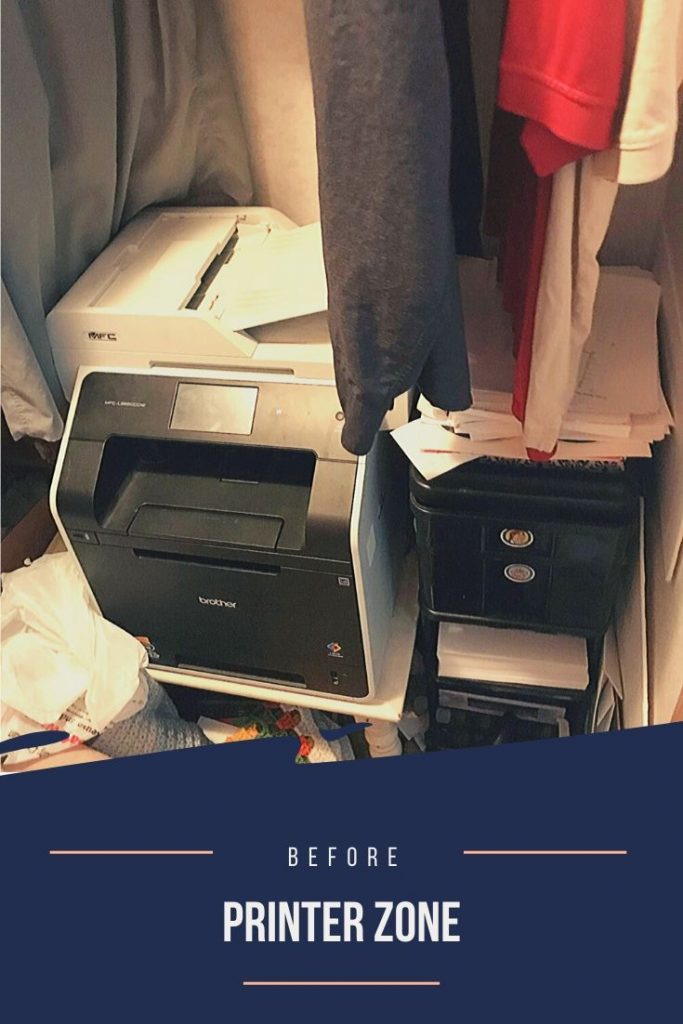
As you can see there are blankets on the floor, papers haphazardly throw in the inbox tray, and clutter everywhere.
This shelf above the printer is a great example of how not having a clear purpose created a waste of space. It was horrible. But truthfully, I could close the door and not look at it until I needed to get dressed or print something so I didn’t really think about it much.
What these before photos show me is that I allowed our master closet to become a dumping ground for items I didn’t know what to do with.
Assign Zones
When you’re organizing a space that serves multiple purposes, assigning zones makes life easier. Having all the items for a specific category grouped together makes it easy to find what you need and easy to put it all away.
As you can see in the images above, I assigned zones to our closet. They include:
- linen closet
- my clothes (beside the hanging shelf, not labelled)
- hubby’s clothes (above the printer, no labelled)
- printer zone
- office overflow
- extra storage (not labelled but you’ll see that in a minute)
Once I have the zones figured out I can start the actual organizing.
Clear the Space to a Point You’re Comfortable With
I go back and forth on whether this step is really needed, but the truth is it is much easier to organize when the space is cleared out. You can see the amount of room you have and take measurements if you need to.
I like to combine decluttering and clearing out the space to save time. Remember those first two steps? They help make decluttering this way super easy.
I look for anything that doesn’t fit into the purpose of the space and I set it aside to go to a new home. I’ll also toss anything that is garbage and set aside anything I no longer want.
As I clear the space I loosely group items together into their zones so that I can see how much we have to go into each one.
Time-Saving Tip– when organizing a closet wait until laundry day to clear it out or hold off doing laundry for a week or two (if you can) before you go to organize. Not only will you have less to remove you’ll also be able to see what clothes you haven’t worn in that amount of time. Evaluate those items to see if they’re still something you love and need. If not, donate them knowing that they’re something you probably won’t miss.
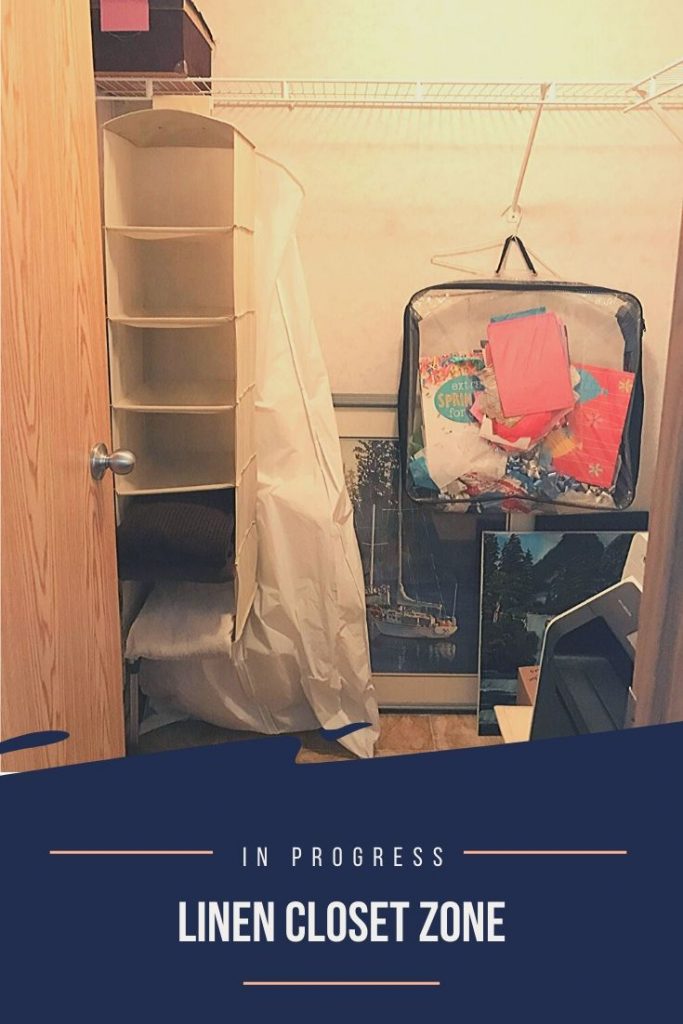
When you clear out the space you don’t have to remove everything. In this in-progress shot of the linen closet zone, you can see that I left some storage items in. This is my extra storage zone for items I don’t want to keep in our shed. It’s also where I keep our gift wrapping supplies. Close at hand but out of the way.
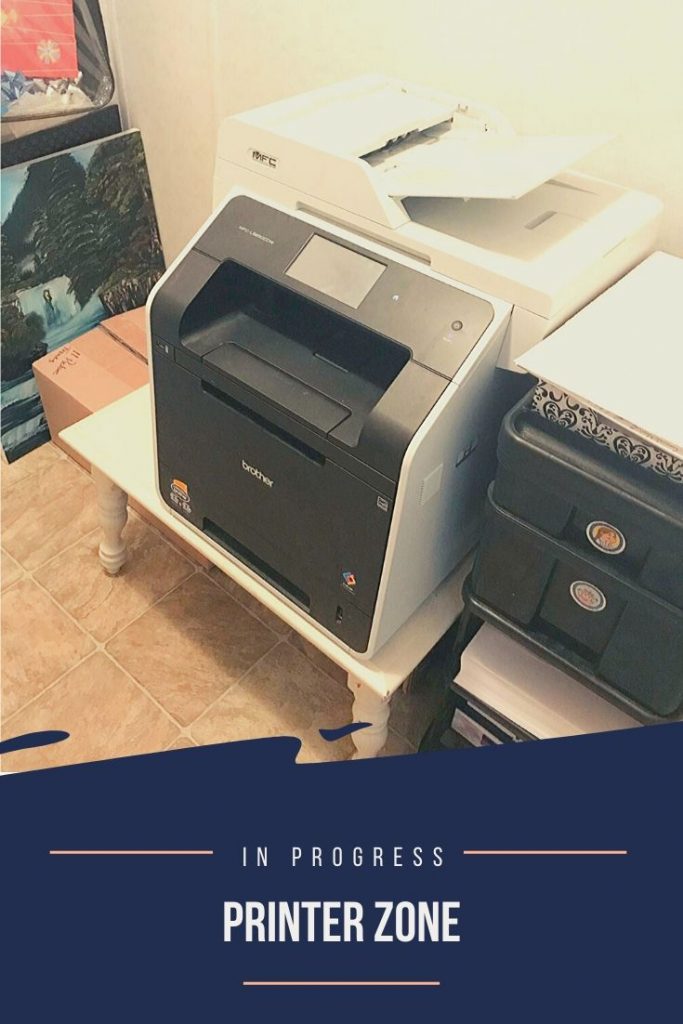
In the printer zone, I left the printer and the stand that holds printing supplies. That plastic organizer has been used in so many different ways in our home over the last 15 years. Having it here to hold paper and extra supplies is a great use of the space.
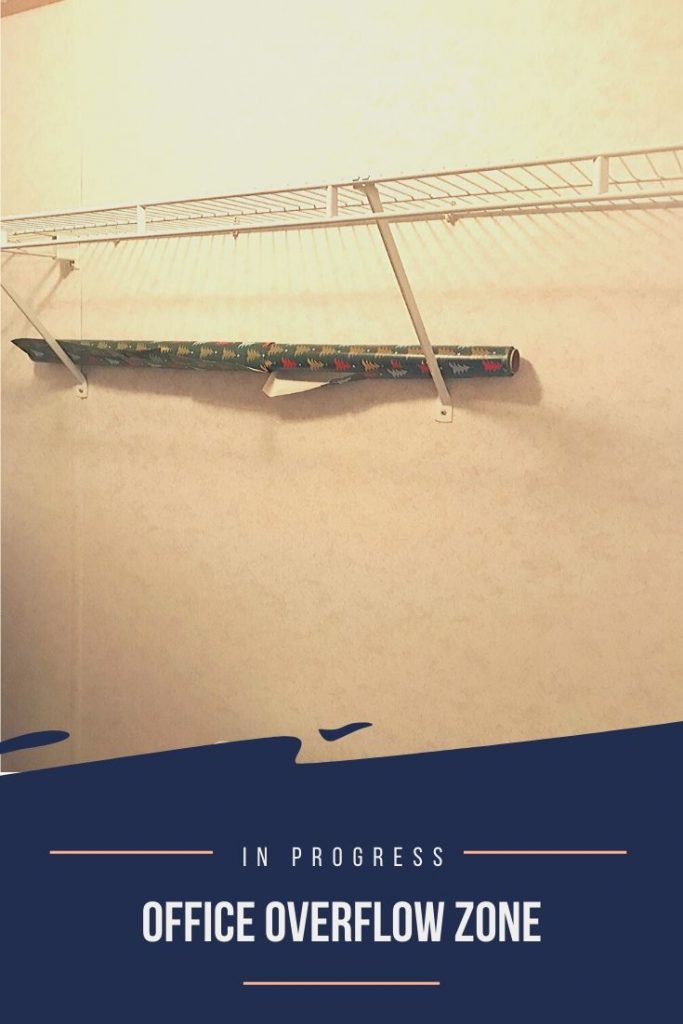
The shelf I totally cleared out. There wasn’t anything there that could stay. I did leave the roll of wrapping paper though. Our first Christmas here I tucked a couple of rolls onto those brackets just to get them out of my way and decided that was a great place to store them year-round. Again, out of the way but close at hand.
Having the space mostly cleared allowed me a chance to evaluate how I had it set up and to figure out where everything would go. It also gave me a chance to give the closet a good deep cleaning.
Declutter and Sort Your Items
Even if I declutter and sort as I pull things out of a space I still like to go through items one more time. This second time gives me a chance to catch anything I missed and it allows me to be a little more intentional with my decluttering.
I designate a staging area for each zone and then I sort everything into five categories:
- keep and into the zone staging area
- somewhere else in the house (I usually put these items in a laundry basket by the door to the room I’m in)
- pass on to friends and family (I use a cardboard box or bag for these items)
- donate
- recycle/trash (I use a recycling bag and garbage bag for these items)
When I’m done I know I’m left with items that we love, need, use, and belong in the space.
Evaluate Storage Needs
Once I have everything decluttered and sorted I take stock of what’s there to figure out what I need for storing them. Whether it’s a bin, box, new shelf, or something else I try to map out a plan for everything.
I find it helpful to use a notebook to make notes, especially if I need to purchase something for the space.
Master Closet – some large bins or baskets for the blankets, magazine holders and boxes for office supplies, labels so I know what’s in what, a storage bin for some of the excess storage items that need to be on the shelf.
Refill the Space
Zones have been assigned, items have been sorted, storage needs assessed and addressed, and now it’s time to put everything back. This is the fun part! Or at least I think it is.
I love the feeling of putting everything away and seeing a space finished. That feeling of accomplishment is what helps motivate me to finish things off.
Personally, I don’t wait until I have all the storage items I need to put everything back. I’ll make do with what I have until I can get them. Many times this means that my ‘finished’ spaces aren’t fully finished.
Done and not pretty is better than not being done because I’m waiting to make it look nice.
Some tips for putting this away:
- keep items in their assigned zones, this helps make it easy to find things and put them away
- start with items you don’t need frequently and store them in the harder to reach or high places
- make sure your frequently used items are the easiest ones to get to and the easiest ones to put away this will help make maintaining the space a smooth process
- if you’re not sure what storage solutions will work best use what you have to test things for a while
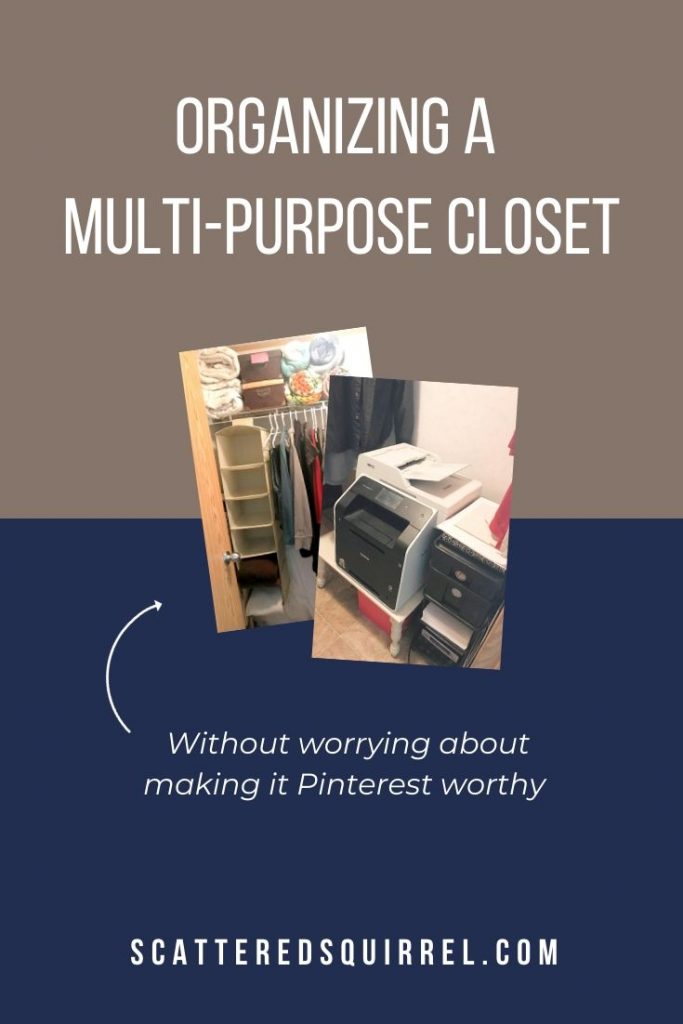
Our Organized Multi-Purpose Closet
It may not look like a stunning transformation, but our closet is working so much better for us now. Instead of being a dumping ground, I have clearly defined zones that help us maintain the space.
I know where everything is and it’s easy to get to the items we need on a frequent basis.
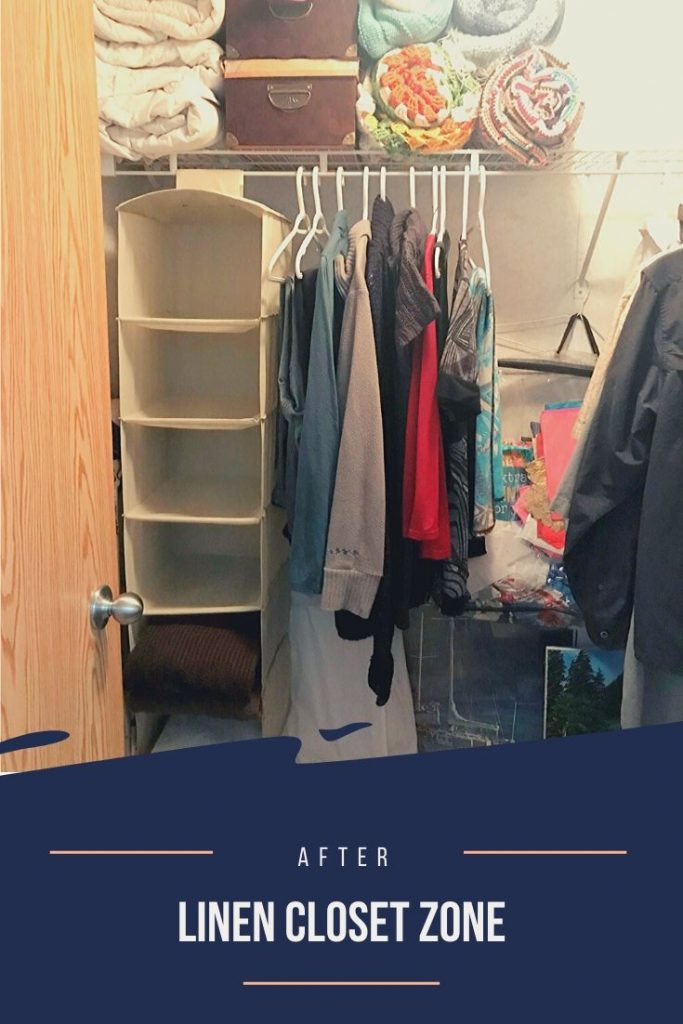
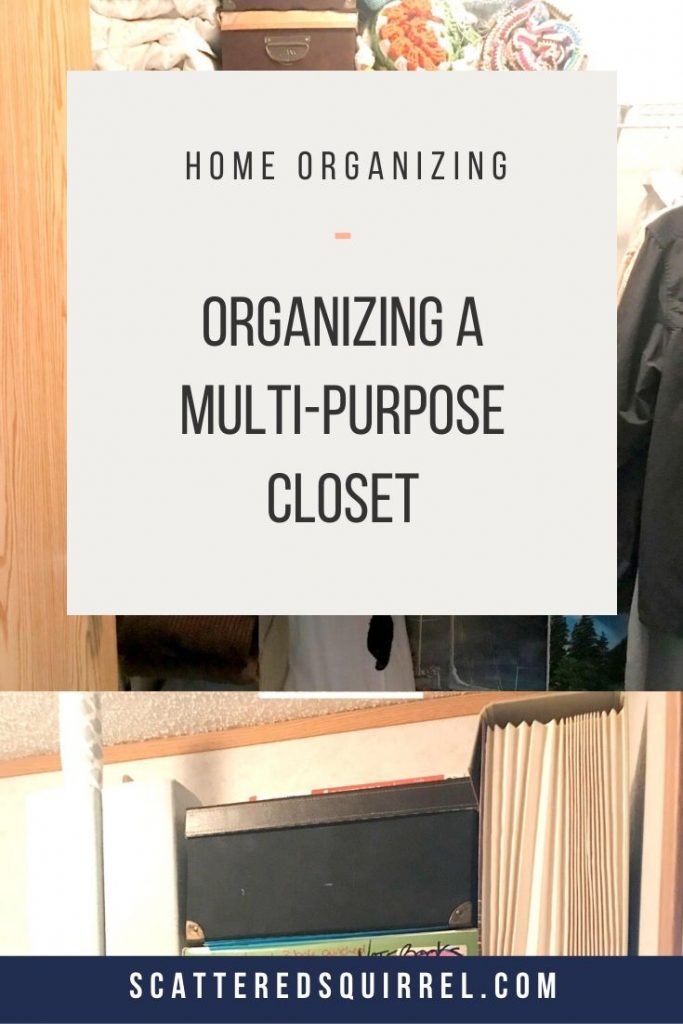
As you can see, I took the after photos before I finished all the laundry. Here you can see the linen closet zone, my clothes zone, and the extra storage zone.
The linen closet zone uses the hanging shelves for towels and the shelf space above for bulkier items like spare blankets and mattress pads. If you have pets that like to sleep on your beds, mattress pads are great for covering your bed to help keep pet hair and dander off your blankets and pillows. I am especially thankful for them during shedding seasons.
In the boxes are our spare sheet sets and pillow cases. I tend to wash our bedding and put it right back on the bed. Having covered storage for our spares helps keep them dust-free for when we need them.
As you can see, the extra storage items tuck nicely behind both the shelf and my clothes. Not the prettiest look, but it works for now.

The printer zone looks pretty much the same as the in progress picture. There are a couple of boxes under the table that hold keepsakes and school papers that have been scanned and sent in.
The inbox ontop of the little cart is full of items that need to be stored somewhere else. They’re just waiting on a storage box that will fit them.
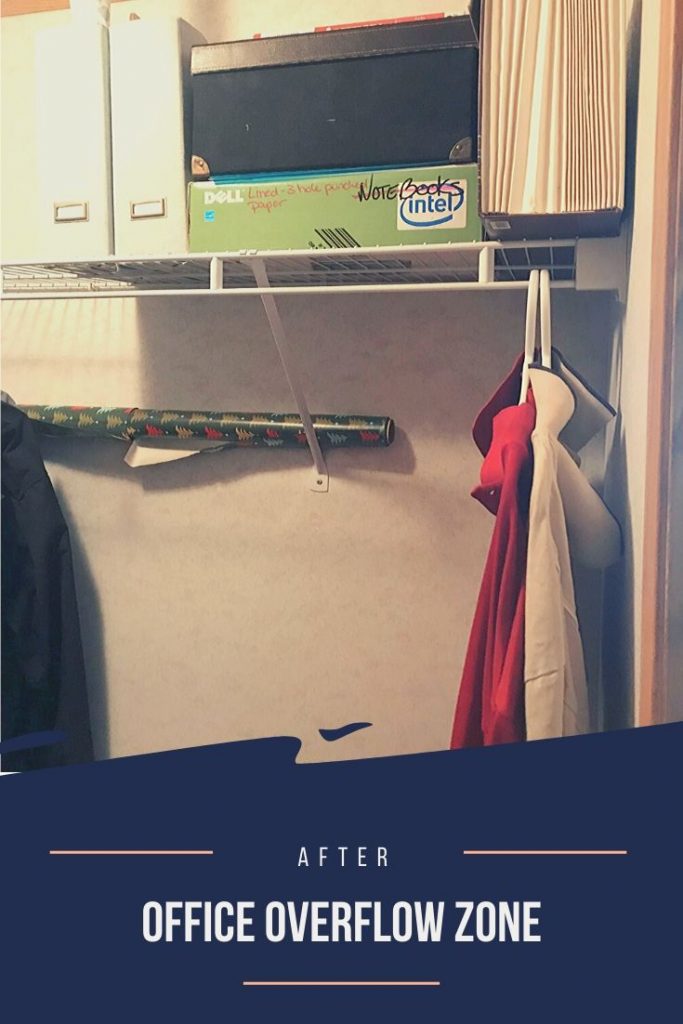
This shelf was the biggest transformation of the whole closet. No longer a cluttered mess, it’s now home to all our extra office, craft, and school supplies. By making use of magazine holders, boxes I already had on hand, and using the vertical space I was able to create a storage zone that works for us.
As a bonus, there was even extra room on the shelf that I could use as extra storage for household items and things like gifts we purchased ahead of time.
My Final Thoughts
I love to organize our home and make it work better for us. We’ve been in our new home for over two years now, and I’m still juggling things that finding what works best for us. And I hesitate to share those projects because much like our closet, they aren’t really pretty.
It seems silly when I type that out on here. I know that many of the images seen on Pinterest, Instagram, and even in videos on YouTube are staged. I even understand the reasoning behind the staging. Visual clutter can be very distracting.
Some spaces just can’t be pretty. Some just aren’t worth investing money into because we’re not quite sure our idea will work. And sometimes we just can’t be bothered to take that extra step. We need an organized and functioning space more than we need it to be visually pleasing.
Organizing is about function first, form second.
I remind myself of that all the time and I’ve decided that I’m going to embrace the function and share the function here with all of you, even if it’s not a Pinterest worthy after.
Speaking of Pinterest, if you’re looking to organize a closet and need some inspiration, check out my Closets section on my Home Organizing Solutions board to see what inspiration I’ve been finding.
Now it’s Your Turn
I can’t wait to share more organizing projects with you. I’ve missed writing about my organizing journey. I’d love to know, do you like seeing projects like this where things may not be pretty but they’re organized?
Do you want to see more like it? Is there any area of your home you’re struggling with organizing and would like to see some inspiration and ideas for it?
Drop me a line in the comments below and let me know what you think. Let’s keep this conversation going.