Pretty Printable Planner Accessories
Pretty printable planner accessories – try saying that ten times fast! Two printable posts in one week, I hope you don’t mind. I’ve been itching to try some new things with the personal planners and I decided it might be fun to focus on other components that help add function or a little bit of fun to a planner. These first two sets were created out of necessity. I’ve started adding some 2016 pages to my planner and realized I needed something to divide the months up. I didn’t have enough dividers on hand so I decided to make my own. I figured I can’t be the only one who needs to divide their planner up into months, so the pretty – yet simple – printable planner accessories were born.
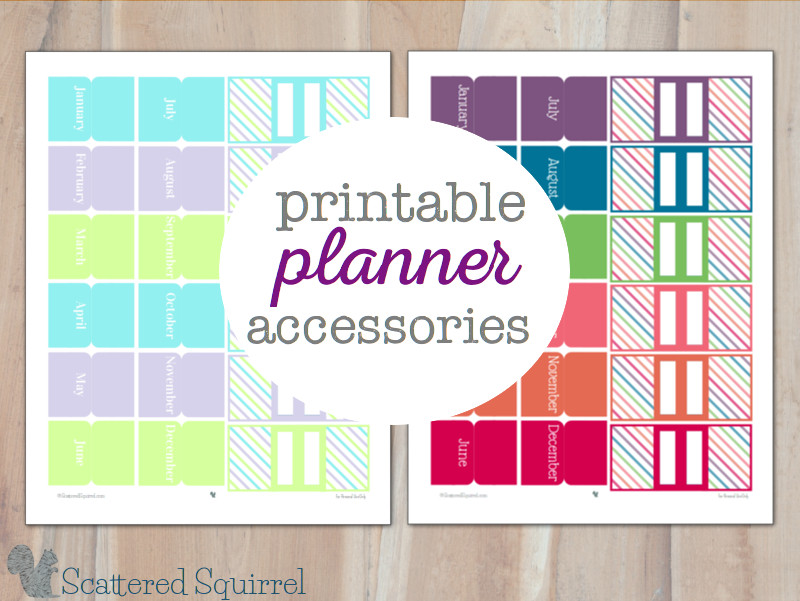
Maybe I’m weird but I kind of like it when things match and though function always comes before form in my book, I like to take the time to make things pretty when I can. Unlike almost all of my other printables, these ones are going to be little heavier on the ink. Because they are more of a functional decoration I made the executive decision that it would be alright for this, but I did feel it only fair to give you a heads up before you start printing.
In addition to printing out one (or both) of these sheets you’re going to need a few other addition supplies:
- card-stock or heavier weight scrapbook paper
- scissors
- glue, double-sided tape or some other form of adhesive
- magnets (I just grab one of those promo ones that come in the mail and cut it up)
- laminator or packing tape (optional)
How to Assemble Your Planner Accessories
As far as projects go, this one is pretty straightforward. Unfortunately, I don’t have any pictures of the process because my printer would not print. 🙁 We’re hoping that giving the nozzles a good cleaning will fix the problem, but until I have a chance to pull it apart and all that fun stuff there is, sadly, no colour printing for me. I’m pretty sure you won’t need the pictures though. Anyway here are my steps.
- Print out the printable you want. I was going to print mine on card-stock for additional durability but normal paper or even photo paper would work.
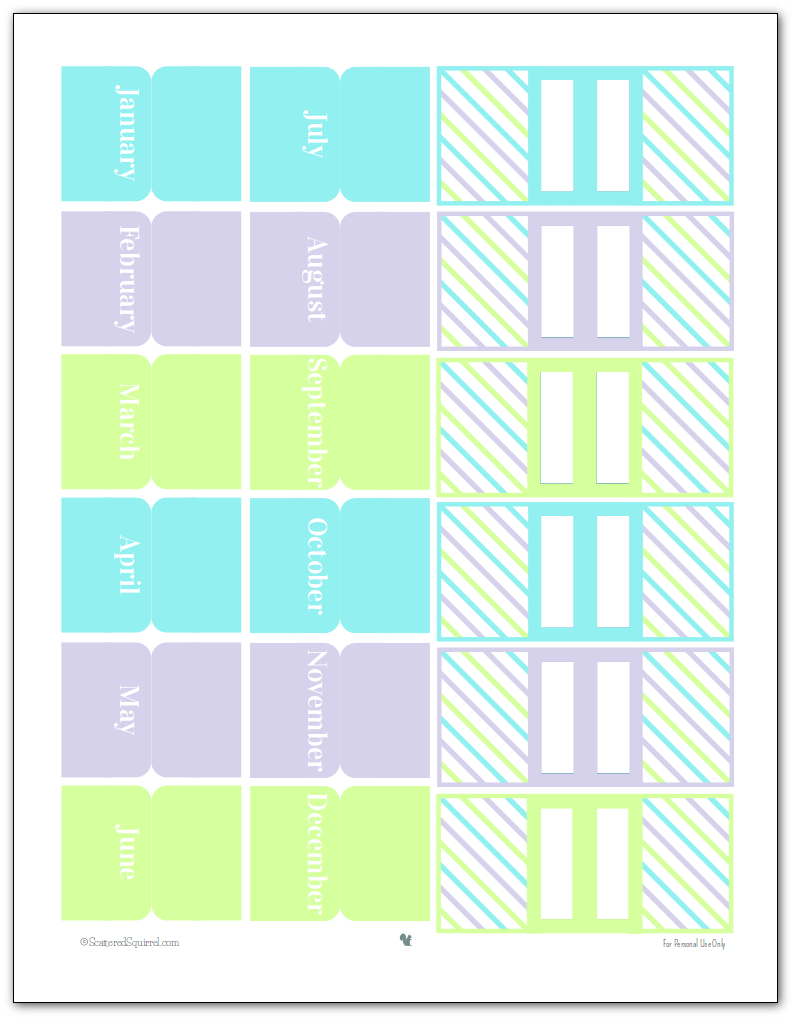
- Cut out all the pieces. There are 18 in total. Don’t cut the monthly tag or book marks in half. It won’t ruin the project if you do, but it’s easier when you just fold them in half.
Creating Monthly Dividers
To create monthly dividers you need
- 12 sheets of card-stock or heavier weight paper
- the 12 monthly tabs cutout
- glue, double-sided tape or some other form of adhesive
- laminator* or packing tape
*if you are using a laminator to make the tabs more durable you need to laminate the tabs before attaching them to the paper.
To create your tabbed dividers fold the monthly tabs in half.
Apply adhesive of choice to the non-printed side
Attach on side to the front of the card-stock, carefully flip over.
Carefully fold the tab over and attach to the back of the card-stock, smoothing out any bubbles.
Flip back over, you now have your first divider.
Repeat for remaining months but make sure to stagger them down the pages just like store-bought dividers.
For extra durability you can use a piece of packing tape applied the same way as you attached the tab. Trim around the tab for a neater look. This is not necessary though.
Creating Magnetic Page Markers
Because I use my planner for blogging, family and personal stuff I tend to mark important pages that I need to quickly reference. I was using post-it notes and page flags, but those wear out after a while. So I decided to try making magnetic bookmarks that I could reuse over and over. It’s a really simple craft project.
You’re going to need
- The cutout page markers
- glue, double-sided tape or some other form of adhesive
- magnets (I just grab one of those promo ones that come in the mail and cut it up)
- laminator or packing tape
To create a whiteboard effect so you can change-up the labels on the page markers run the cutout page markers through your laminator or cover with packing tape.
On the non-printed side attach two small magnet strips with your adhesive of choice.
You now have reusable magnetic page makers to mark your pages. I like to have one for my current week, current blog post I’m working on, projects that are due, and then a few spare ones for important things I don’t want to forget or for bookmarks.
Printable Planner Accessories
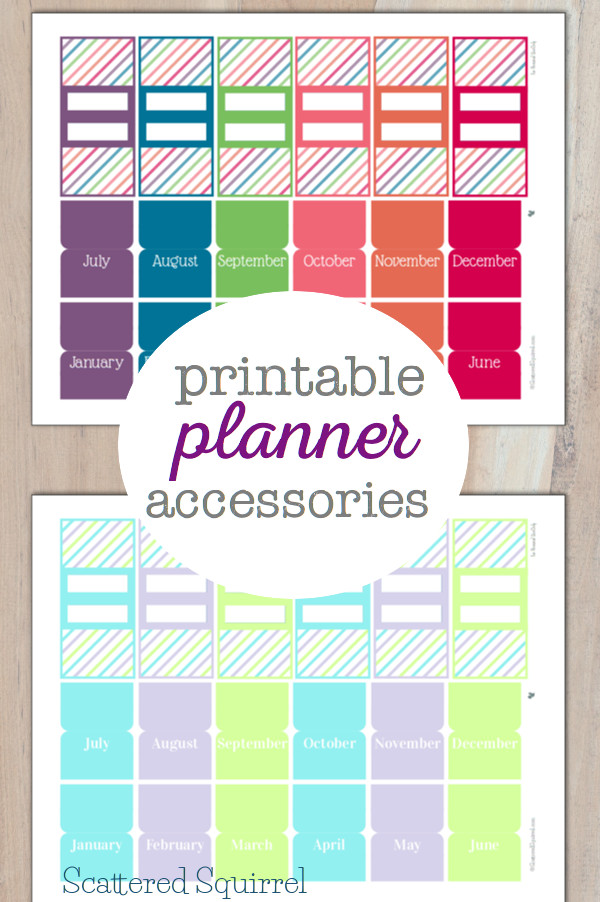
Of course, before I go dashing off to pull apart my printer I have to share the printables. Wouldn’t that have been a cruel tease if I didn’t include the actual printables? You have your choice of the 2015 colours or the 2016 colours. For those of you wanting black and white, the 2016 ones print nicely in grey-scale.
2015 colours. They’re fresh and light and the month titles show up much better when printed. If you find that they’re too light, let me know and I’ll see about changing them to a darker colour.
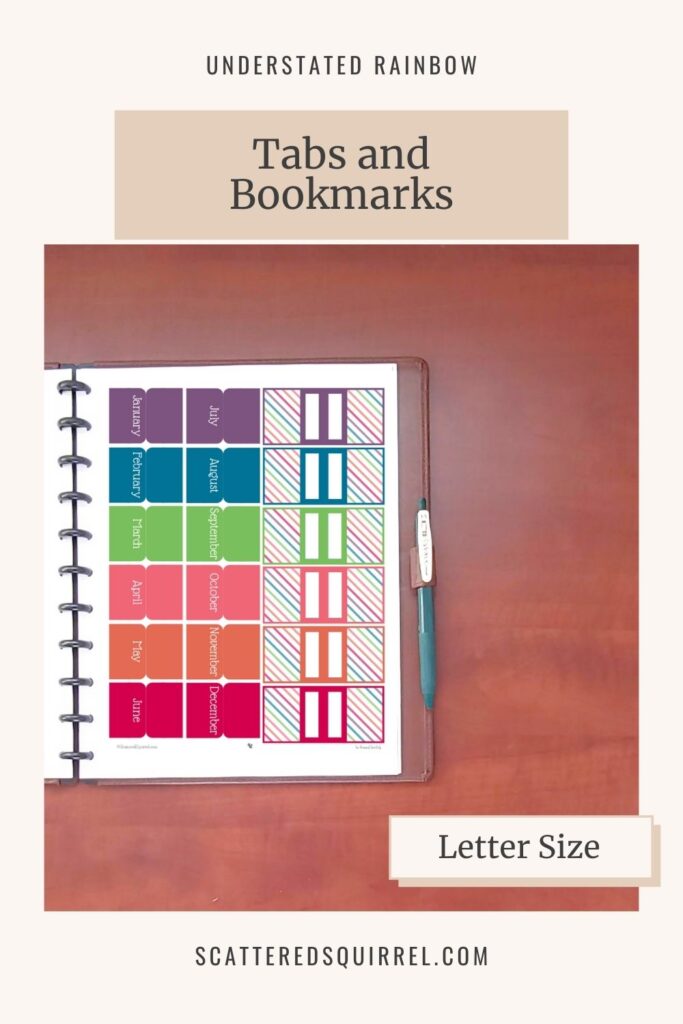
The 2016 colours. I had to mute the colours of the stripes on the page markers as they were, well too bright! Again, this one prints really nicely in grey-scale, so if you’re looking for black and white, this is the one for you!
I hope you all have fun making these printable planner accessories. I’m thinking I might make some more because it was fun to make something that wasn’t a planner page. I’m open to suggestions for accessories you would like to see for your planners, so drop me a line in the comments and I’ll see what I can come up with. Until next time, please enjoy the printables!
Do you like to make your own planner dividers and bookmarks, or would you rather buy them from a store? What other printable planner accessories would you use?
~Happy Printing~
I am linking up at these great place around the web! (click here to see)

Hi Alli,
First I want to say thank you very much for all these great free printables; you are so talented and generous to put so much time into your freebies. I have reached an age where I have to reuse paper planners.
I have a question: Is there a place on the site where I can find a MO2P, black/white, Monday start,
that can be printed on letter size paper where the two pages of the calendar side by side? I looked at the calendars and they all start Sunday. I have a b/w printer so anything in light colors will print too light to see well.
Thanks for all your hard work.
Hi Alicia, thank you so much for the kind comment. I had to go double-check, but I don’t have a Monday start black and white calendar. I’m adding it to my list of ones to make this year, but I don’t know when I’ll get a chance to print them. Have you tried printing one of the months from the 2021 calendars in black and white? I used darker colours this year so they’d print better in black and white, but that doesn’t always mean they print dark enough for everyone. If they’re not dark enough for you, send me an email and I’ll see what I can do.
Your printables have become my favorites and the only ones I’ll use now. Thank you so much for sharing them!
Thank you so much Melva, that really means a lot to mean. I’m thrilled that you’re enjoying using the printables so much.