2016 Monthly Calendar Printables-Full Size Edition
Happy Monday everyone! I hope your week is off to a good start. Ours is getting started slowly. I feel like I have a hundred million things on my to-do list and yet I’m not really sure what I’m supposed to be doing. I think it might be time to take a scattered day and recharge. In other news, the first batch of 2016 Monthly Calendar printables are ready for those of you who’ve been asking about them.
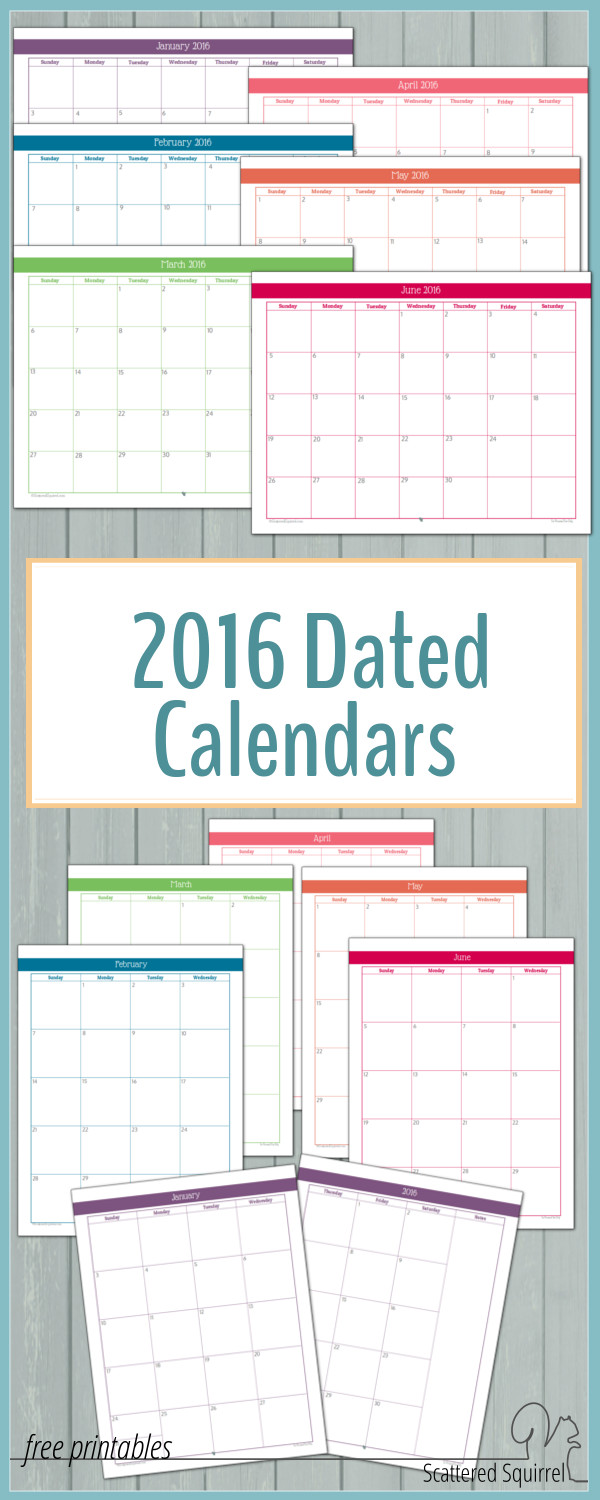
I’m pretty sure I say this every time I make a new calendar, but I think these ones might be my favourite! I played around a lot with how to style them and in the end, I opted to keep it really simple. Rather than playing with a pattern I opted to let the colours be the stars of the show. You got a little glimpse into what I was planning in the 2016 Year on a Page Calendars, and now you can see the rest.
2016 Monthly Calendars
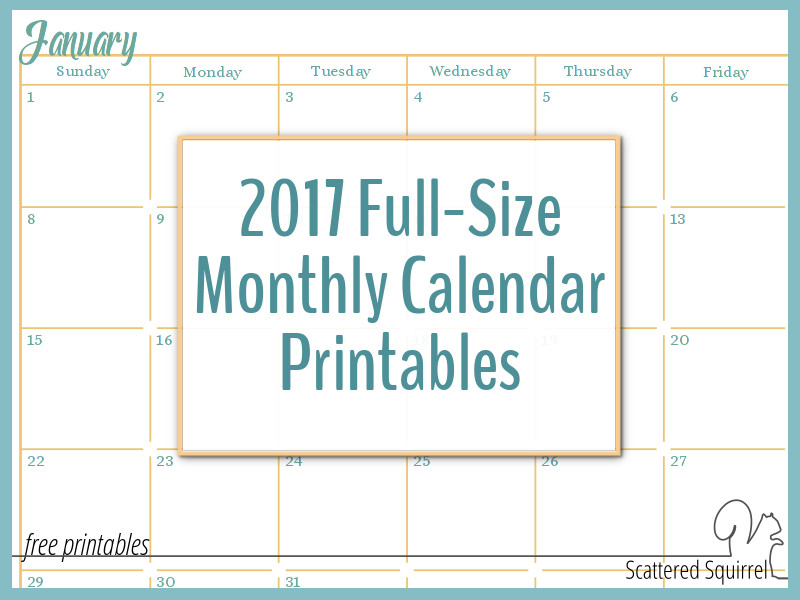
Just like the 2014 and 2015 calendars I’ve combined all 12 months into one file to make it easier for you to download them. Nothing worse than having to download each month on its own. To grab a copy for yourself, just click the photo with the style you want and either it will open the PDF or a dialog box will pop-up asking where you would like to save. This all depends on your browser settings. (please note, in some cases, the file may download when you click the photo. I have no control over this, it’s a setting in your browser’s settings or properties)
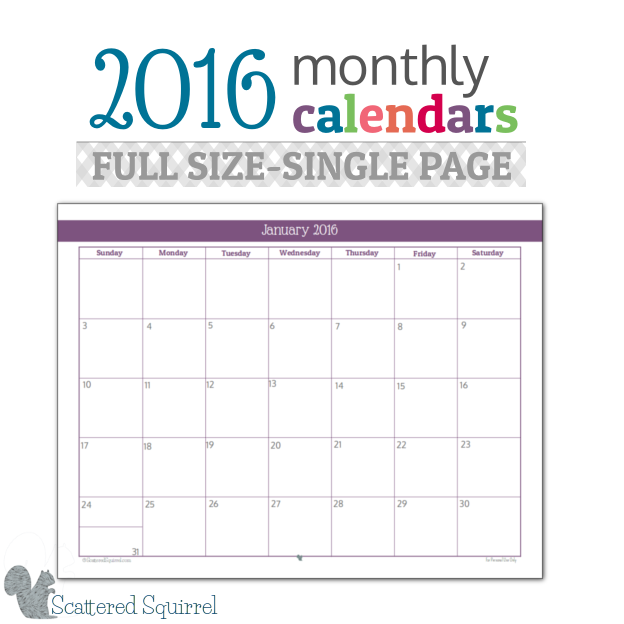
First up, the classic, single page per month layout. The bones are still the same though for 2016 I opted to keep it just a basic grid. Nothing fancy. As you can see in the picture below, the colours really are center stage this year. I use these single page ones for when I’m planning organizing, cleaning or home improvement projects. I just print out the month or months that I need and I can plan out how I want things to progress and then compare it to my actual planner and see if my expectations are realistic or if I have to shuffle things around.
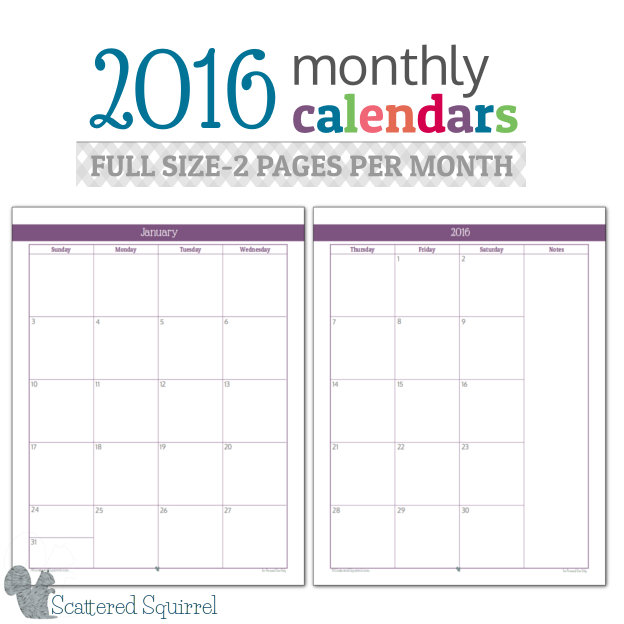
Next up we have the 2 page per month layout. This one is the one that will be going into my planner later on this year. I love the extra room to write things down, and I really like the notes section on the right-hand side. Again, I kept the layout the same.
I have to say I’m really liking the simple look to these. Don’t get me wrong, I love pattern and colour, but there is something really nice about clean and simple too. Before I dash away, I did want to offer up a couple of printing tips.
- If your printer has margins set, the band across the top will not go completely from side to side. You can check for margins in your printer settings.
- To print the single sheets back to back, (if you don’t have a duplexer) print out only the odd pages. Then flip the stack over, however, it works for your printer) and print all the even numbers. If you’ve never tried double-sided printing before, try it out by printing only page 1 and then only page 2 on the opposite side.
- To print the 2 page per months ones double-sided so that it looks like the pic above when it’s in your planner, do the same thing as stated above, but before you flip the stack, remove the first page for January. Then put the stack in and print. This means that page 1 and page 24 (the second half of December) will only be printed on one side.
As always, I do so hope you enjoy the printables. If you have any questions please let me know in the comments or drop me a line via email. Until next time, I wish you all a wonderful week!
Are you already looking at planning part of 2016? I’d love to hear what you’re planning for!
A Few of my Favourite Planner Supplies
~This portion of the post contains some affiliate links, which means I earn a commission if you choose to make a purchase through one of those links. For more information please see my disclosure policy. As always opinions are 100% my own and I only ever share products we use, love and/or plan to try out ourselves.~
Often times I receive emails and comments asking about the supplies I use to create my planners, and I’m happy to share them here with all of you. As you may have guessed from previous posts, I’m a huge fan of the disc bound options like the
Where to Put Your Planner (AKA Binding Options)
As you may have guessed from previous posts, I’m a huge fan of the disc bound options like the Arc Notebooks, for binding my planners together. They give me all the flexibilty of a binder combined with all I love about coil bindings. You can easily use a binder too or, take your printed pages to be bound at a print and copy shop. I personally like the freedom to switch things up a bit.
Don’t Under Estimate the Importance of Paper
When it comes to printing my planners I prefer to use a heavier weight paper. While the really cheap copy paper will work just fine, I like the extra durability and smoothness I get in a heavier paper. Also, I like not seeing the ghost image of the stuff on the other side. Currently my favourite choice for paper is this Hammermill 28lb Laser Print paper. It’s not as heavy as I would like, but it’s as high as I’m willing to go on price at the moment. I print all my planner pages on our old black and white laser printer while I save up for a replacement for my colour printer.
My Favourite Writing Tools
When it comes to using my planner, two of my go-to tools are my Pentel Energel Gel Pens and Sharpie Retractable Highlighters. A good writing instrument makes all the difference, and those Pentel pens are amazing. They write very smoothly, the gel ink dries fairly quickly, there is very little bleed through, and the colours are nice and vibrant. I like to colour code some of my planner entries, but I’ve found that I don’t always like taking the time to use different pens when I’m writing stuff down. That’s where the highlighters come in. I can do all my planning in any colour ink I want and use highlighters to colour code the tasks when I’m done. The retracable highlighter are quick and easy to use when I need them.
These are just a few of my favourite planner supplies. One of these days I’ll put together a post that covers everything I use to make and use my planners. In the mean time though, feel free to ask questions in the comments.
