My Scatter-Brained Approach to Cleaning the Closet
When I was younger I never gave much thought to cleaning my closets. It’s not like they were a room that was used frequently, how dirty could they get? Oh the ignorance of youth! The truth is closets attract dust and dirt (especially if you have hard surface floors) like any other space in our homes, and they require a good cleaning every now and then. If you’re anything like me, cleaning your closest is often one of the last things you think about when it comes to housekeeping.

My Scatter-Brained Approach to Cleaning the Closet
I’m sure there are more efficient ways to tackle cleaning the closet. I’m sure there are many people out there who take the time to plan for projects like this;
- choosing the best time
- scheduling it in on a regular basis
- having a plan in place for how to do it
Whenever I tackle a project like this it always seems to happen on a whim, more spur-of-the-moment than planned and thought out. Over time I’ve learned to embrace my scatter-brained approach and have even fine tuned it into a process that I seem to follow each and every time.
Step 1: Notice When Your Closet is Getting Empty
This first step is more of a catalyst for me. You see, laundry and I are not always on the best of terms. Despite my best efforts to stay ahead of it there are times when I fall behind. So, when I notice my closet is getting empty rather than following the typical cause and effect equation of:
Empty Closet = Time to do Laundry
I follow this equation:
Empty Closet = Perfect Time to Clean the Closet
My way works best for me, because the first step to cleaning the closet is always remove everything from the closet. If most of my clothes are already in the hamper, then a good portion of that job is done for me! I’m always up for making jobs easier, and since I’m being brutally honest here, cleaning the closet doesn’t usually cross my mind when it’s all full of clean clothes.
After you notice your closet getting empty, take a few minutes to remove everything that’s remaining. I usually use my bed for holding stuff. This server three purposes:
- I can lay out the clothes so they don’t get wrinkled
- Everything from the closet stays in the same place
- I’m forced to finish the project before bed time. There is no procrastinating once I’ve started.
If you would rather take a more planned approach to cleaning your closet, choose a time when you either have fewer clothes to worry about, or when you’re going to be emptying the closet anyway.
- If you do laundry once a week, plan clean your closet on the same day. You can even rotate through all the closet in you home. Pick one a month and plan it out.
- If you swap out seasonal clothes, clean your closet before you put the new season’s clothes away. You’ve already got it empty now’s a great time to do the cleaning.
- If you’re adding storage or a closet system – again you’ve already emptied your closet, give it a good cleaning before you start installing stuff.
Step 2: Gather Your Supplies
Now I know when tackling most cleaning and organizing tasks, this step is supposed to come before you even get started. Since I usually don’t think about cleaning my closet until I’ve already emptied it out (one way or another) this is step two. Closets are one of the easiest spaces to clean and require only a few cleaning tools and supplies.
- vacuum – even if you have hard surface floors I still recommend a vacuum
- cleaning rag
- bucket of mildly soapy water – DON’T fill the bucket too full, you just need a little and trust me, having to spend time dealing with spilled water on a carpeted floor is not how you want to be spending your time.
- drying rag – to help speed drying time.
- long handled duster
Step 3: Start at the Top and Work Your Way Down
I start at the ceiling. If my vacuum want won’t reach that high I use a long handled duster to give the ceiling and edged a quick dust to collect any cobwebs that might be there.
Then I vacuum off the shelf and any organizers I might have using the upholstery attachment. I spend extra time vacuuming any canvas organizers I might have because those things can be dust magnets.
I swap the vacuum for the cleaning rag and bucket of mildly soapy water. I make sure to wring the rag out REALLY well because I don’t want to be slopping water all over the place. Starting at the top again I wash the walls, the shelves, basically any hard surface I come across between the ceiling and the floor.
Then I vacuum the floor. I use crevice tool to get into the corners and the edges.
At this point I take the drying rag and quickly dry the shelves. I really don’t want to be putting stuff on damp shelves.
Step 4: It’s Time to Have a Little Organizing Fun
We’re already starting with a blank slate thanks to cleaning the closet, why not have a little fun now that hard stuff is done?
Before you start putting your items back ask yourself a few questions:
- what was working well in this space?
- what bugs me about this space?
- does it stay neat or do certain items end up jumbled together?
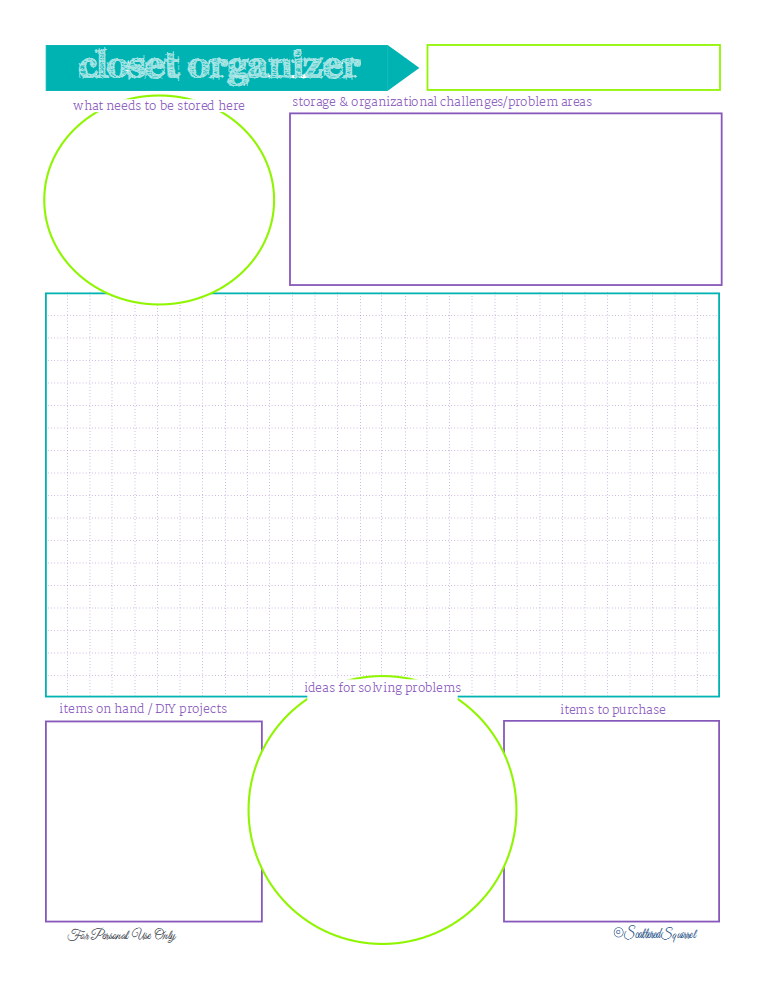
Take a few minutes to address any problem areas. Even if you can’t fix them right now, you can jot them down on a piece of paper or you can download and print a copy of my closet planner printable to help keep your ideas together.
Now is also a great time to go through your clothes and other items you keep in your closet to see if there is anything you no longer wear, doesn’t fit, is worn out, or that you no longer like. Save yourself some time later and put them in the donate or trash pile now.
Which brings us to the last step…
Step 5: Put Everything Back in the Closet
This is where using the bed as my staging ground becomes a great motivator for me to finish. Now that all the hard work is finished it would be so easy to allow myself to get side tracked and not put things away. But because I need my bed for sleeping, I’m forced to deal with it either now, or later on when I’m tired and just want to sleep.
When it comes time to put things back in, I like to take a little extra time to make sure I’m organizing as I go.
- I group like items together on both shelf and rod
- I hang my necklaces and earrings so they’re neat and easy to grab
- If I pulled items out that don’t really belong in the closet I make sure to relocate them to their proper home.
Now my closet is ready for when I get around to getting the laundry done, and I have a few months before I need to worry about it again.
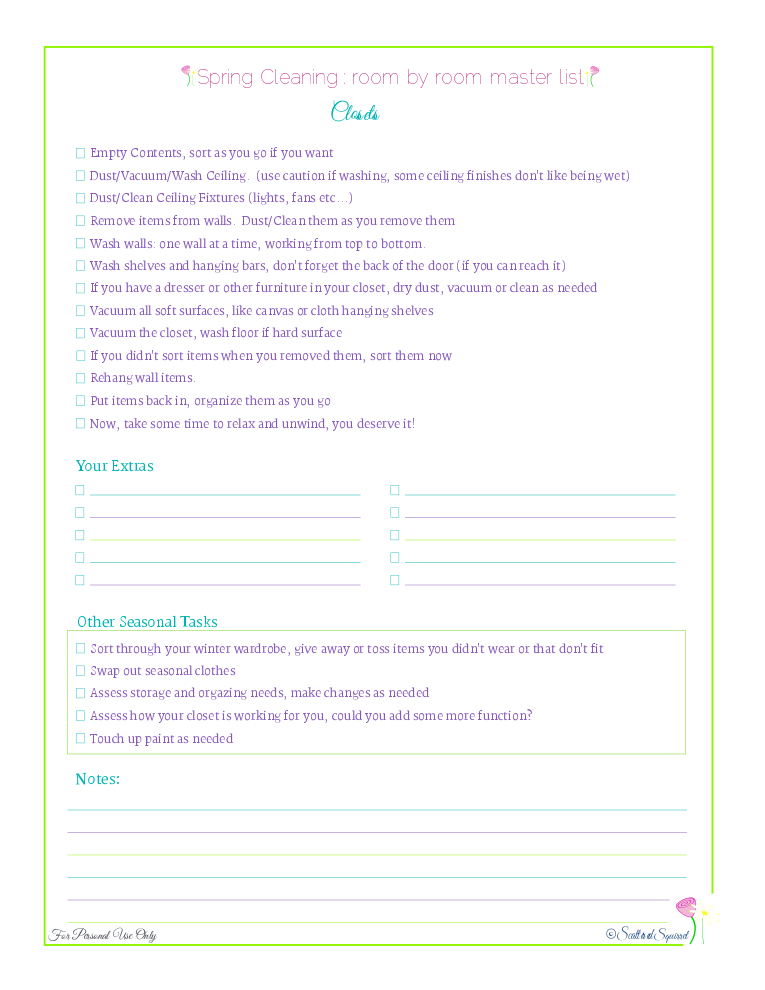
If you prefer to work your way through a checklist rather than following my slightly scatter-brained steps, then the spring cleaning master list for cleaning the closet might be something you would find useful.
Bonus Step: Put Your Supplies Away
I’m famous for leaving things all over the place when I’m done with a project. So while the rags and bucket will make their way downstairs to be emptied and washed, the vacuum and duster will most likely stay in my room until I need them down stairs or in another room.
It’s always good to give yourself a little reminder to put your supplies away when you’re done, especially if you’re a scatter-brain like me.
Now is also a good time to take those donation items and put them in a box or bag to go in the car. Get them out of your room so you can enjoy the space.
Simple Maintenance
There are couple things you can do to help keep your closet cleaner between these deep cleanings.
- when you’re vacuuming your room, vacuum your closet too.
- if you have cloth or canvas organizers in your closet, add vacuuming them to your regular cleaning
- when you notice empty space whether on a shelf or rod, give it a quick wipe down with a dusting rag.
- regularly assess your wardrobe and get rid of items you don’t use or love
Cleaning the closets doesn’t really take that long, but it’s one of those chores that is easy to overlook in day to day life. But until someone invents a magical dust free closet or a self-cleaning house, making time to give your closet a cleaning a few times a year will have to suffice.
As always, to grab a copy of these printables for yourself, simply click the pictures.