Days 14, 15 and 16: Setting up a Kitchen Binder

Welcome back to the 31 Days to a Clean and Organized Kitchen series. If you’re just joining us, you can get all caught up on the 31 Days tab at the top of the page. As many of you know, last week was not a good week for technology around these parts. First my camera’s memory card did wonky things, then my computer crashed, hard! Travis spent DAYS trying to fix everything and get everything up and running, and I’ve been playing catch up. I’ve given this a lot of thought, and I decided that to get all up, I would combine the last three missing days into one post. Since I had planned on focusing on the kitchen binder this week, I think it will work and not be too long of a post. Are you ready?
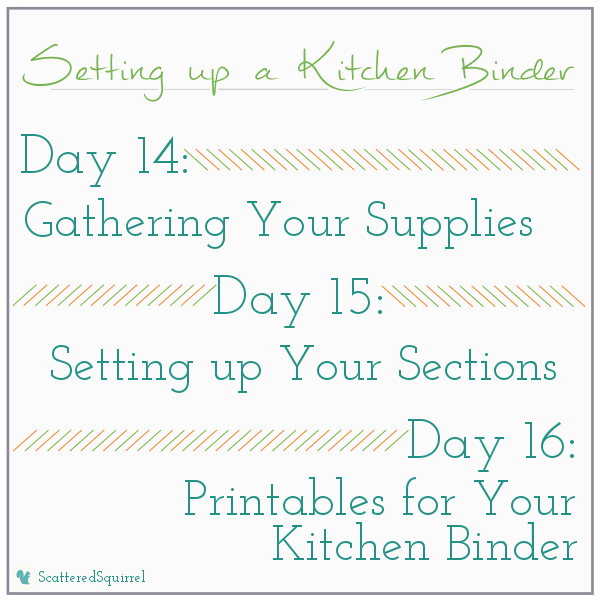
Day 14: Gathering Your Supplies
I love to use binders to organize information. They are super easy to customize, come in all different sizes, and best of all are easily updated or even upgraded as your needs change and grow. Whenever I set up a new binder I have a go to list of supplies that I know I will need. I gather them all together and keep them in my project basket until the job is done. Here is what you need:
- binder
- page protectors
- stick on tabs or section dividers (depending on your preference
- sharpies or other fine tip markers for labeling
- notepad or scrap paper for making notes and ideas
- hole punch
- scissors
- scrapbook paper (if you want to pretty it up)
- printables (my own or found through out the web) or lined paper
- pens or pencils
Feel free to add or remove items as you need. Once you have all your supplies together, it’s time to start thinking about what you want to include in your binder. Since this is a kitchen binder my main sections are as follows:
- Meal Planning
- Make Ahead Meals and Mixes
- Inventories
- Recipes
- Coupons
- Lists
- Cleaning
If you’re not sure what sections to have in your binder, think about the information you want to store there. Just jot down some idea. then look back over that list. See if you can group some ideas into categories, those will be your sections. Remember there is no right or wrong way to do this. If you just want a place to store all those recipes from your favorite food blogs then just make a recipe binder. If you would rather just add a kitchen section to your HMB, then by all means, do that.
Day 15: Setting up the Sections
We’ve got our supplies, printed off any printables we want, and now we’re ready to start putting it together. We’re going to start with the sections. Because I’m combining three posts into one and I just talked about my sections above, I’m just going to jump right straight to the printables!

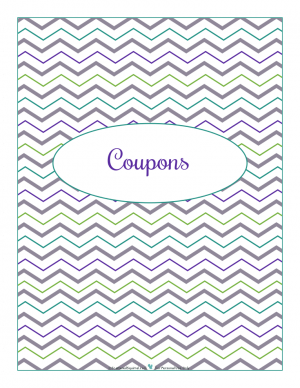
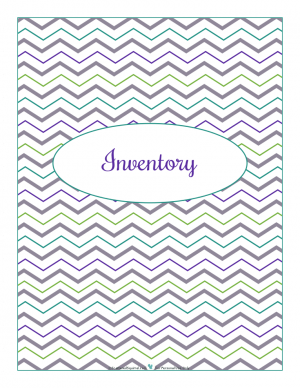

So, they’re just like the ones I did for the recipes section. And just like the recipes section I’m open to suggestions. Later this week I will have another bundle of recipe subsection dividers ready to go based on suggestions you’ve all sent in, and I’m totally game to do up some other section pages for the binder as a whole too, so leave me your suggestions in the comments, send me an email, or chime in on social media, and I’ll see about getting them included. To use these printables I simply slip them into a page protector, and use a Post-It tab to create a divider. I do it this way because I use page protectors for other printables and for holding recipes to protect them, so making my own dividers this way means I can still see the tabs once it is all put together. Now that our section dividers are ready to go, it’s time to put everything together.
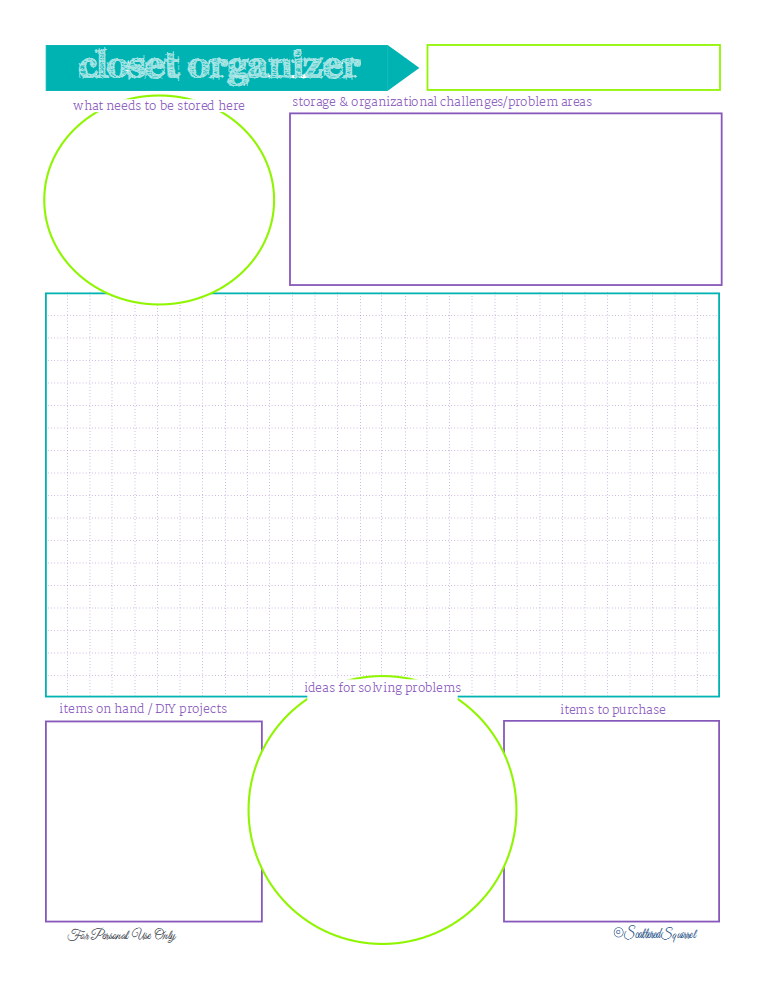
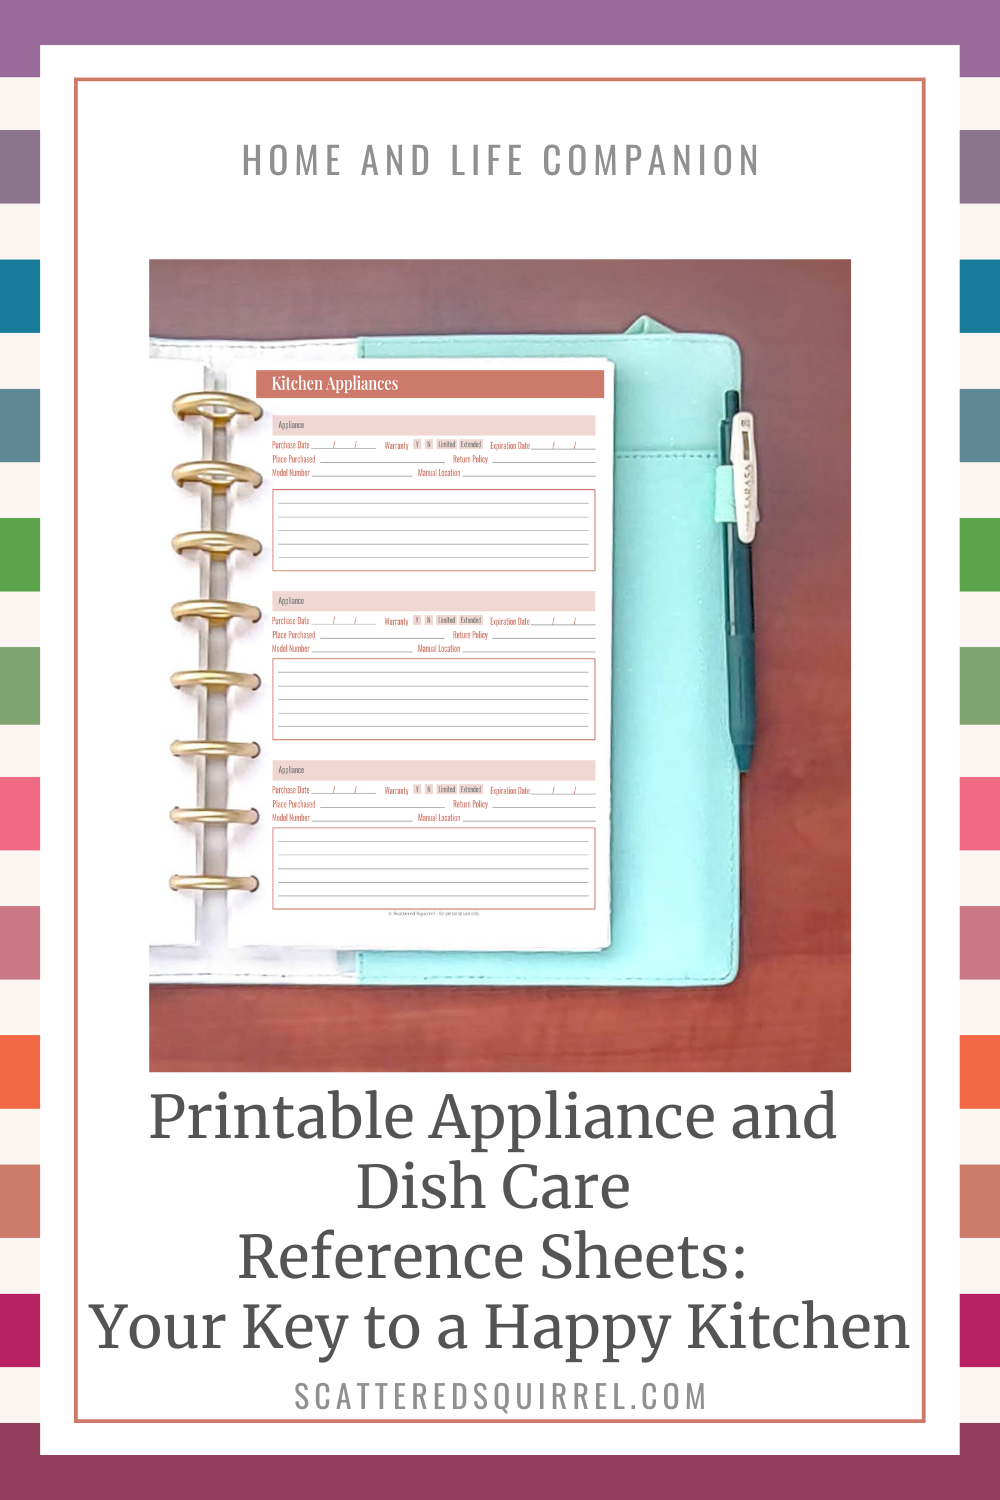
Day 16: Printables for Your Kitchen Binder.
This part is where all of our hard work comes to fruition. We get to see the final results … mostly. I’m not ready to tackle my recipes section yet. I do believe that one is going to require me to set aside a WHOLE day to get it all done. I’ve neglected it for too long now, and I’ll pay the price when I get to it. It’s time to have some fun! Just for this post I put together a whole new page of printables. All of the ones from this series, plus a few from the past that I thought would be helpful. Head on over the the page now (click the image below) and find some printables to go with your sections. Once you have what you want and need for the binder go grab a cup of coffee, tea, wine, what ever you enjoy drinking, and relax. Tomorrow we’ll get our hands dirty (figuratively speaking) and take a closer look at some of the possible sections and how having them can help you keep your kitchen organized, clean and running smoothly.

Whew! Sorry this is such a long post, as you can see those posts were going to be pretty teensy anyway, I do hope you don’t mind that I combined them all together. Now that I’m all caught up I am eager to start moving forward once again. Tomorrow I’m taking a closer look at the Meal Planning section, and sharing a few new printables, so I do hope you’ll join us.
What are your thoughts on having and using a kitchen binder? What sections are you using? Did I miss any obvious ones?