DIY Wood Cleaner and Conditioner
Happy Monday everyone! I hope your week has gotten off to a great start. We’re gearing up for Liam’s birthday tomorrow, I can’t believe my baby is going to be S-E-V-E-N! Where on earth does the time go? Because of work schedules I have a couple more weeks before we throw the actual, have a bunch of kids over party. Having a little extra time to plan is nice, but it also mean I now have a deadline for the spring cleaning. Woo hoo! With that in mind, I thought I would share with you a little experiment I did about a week ago.

Spring cleaning isn’t just about cleaning. It is a fantastic time of year to refresh and renew. Toss pillows and window treatments into the dryer on air (or low heat) to fluff and freshen, condition leather furniture, jackets, handbags, wallets and belts. Open the window and air out the house. And it’s a great time to give the wood surfaces in your home a little extra TLC.
Now, I’m going to be honest here. We didn’t have a whole lot of real wood surfaces before, and this isn’t really something I gave a whole lot of thought too, until we moved into this house. As you can see, our stairs have a LOT of wood in the them. Not one, but two railings, trim on the risers and though it’s not shown, our stair case is open at the top. That wood railing goes all the way around to the wall where the door to our room is. It wasn’t until a couple of weekends ago when I was giving the stairs a spring cleaning that the thought of conditioning the wood there popped into my head. As I was vacuuming I noticed greying patches here and there. At first I thought it was just dust, but a run over with the vacuum and wipe down with a rag didn’t do anything to change it.
I’ve tried a homemade wood conditioner before in our kitchen. I wish I could remember where I first saw the idea, but it was a 50/50 mix of olive oil and vinegar. I didn’t like the way it left my cabinets feeling though so I never made another batch. But the stairs were really bugging me. I was going to go to my favorite go to site, Pinterest, to see what I could find, but I was on a roll and I didn’t want to stop for too long, or worse, get side tracked by all the pretty pictures. That’s when inspiration struck!
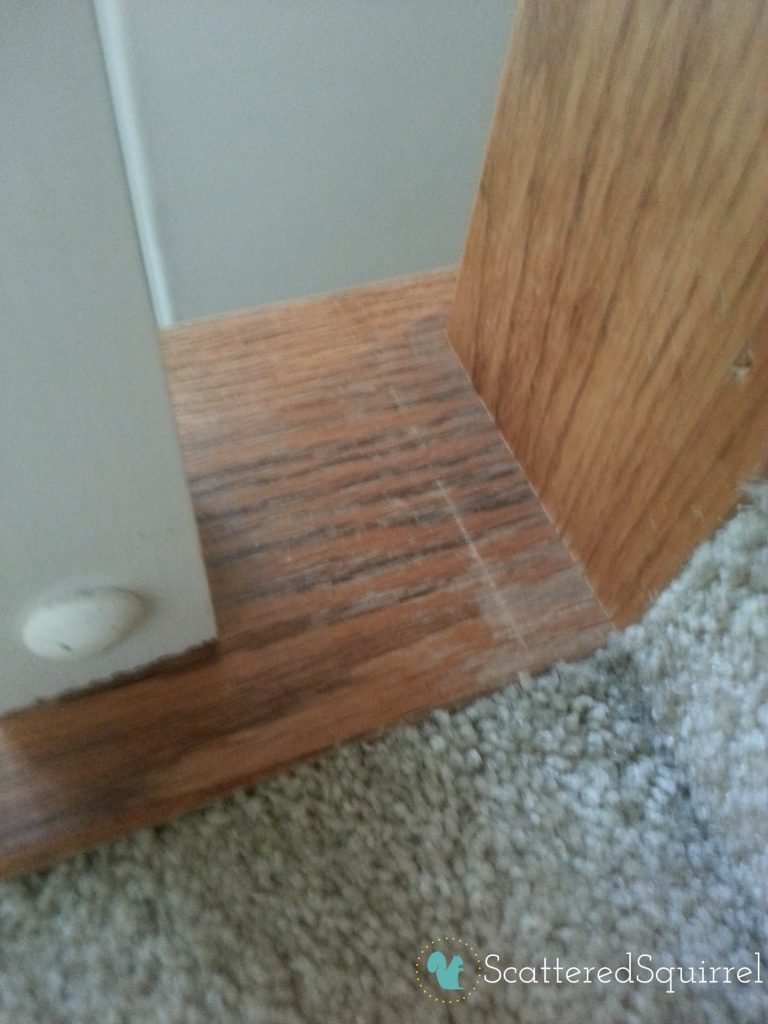
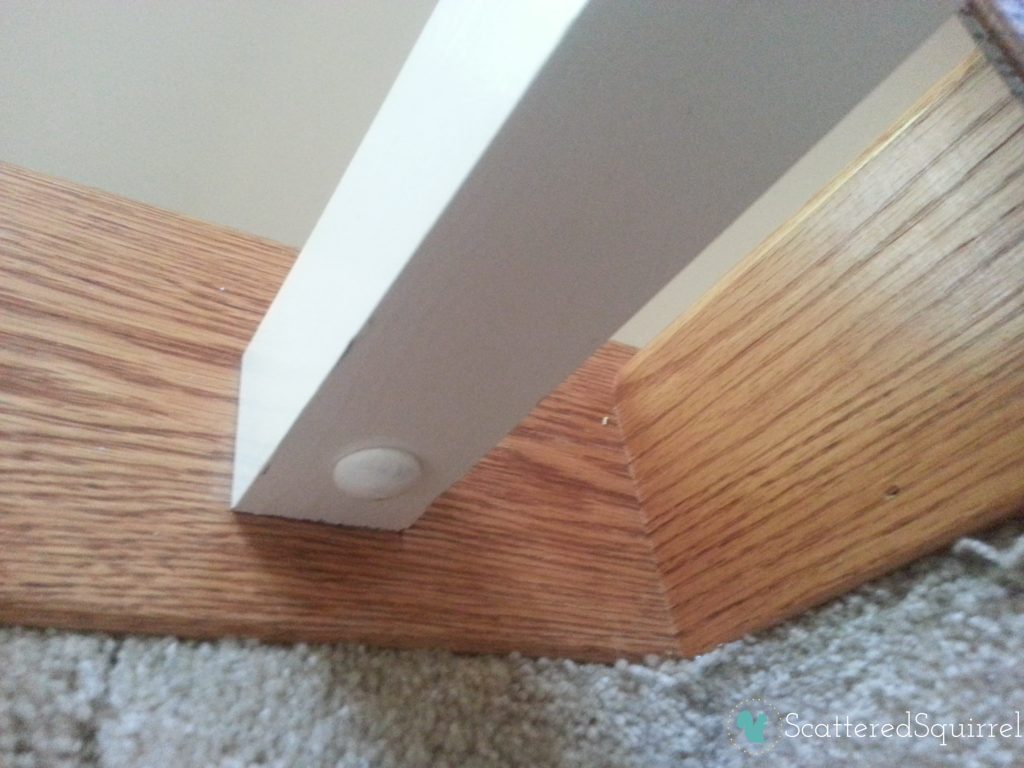
Why bother looking something up? After looking into green cleaning solutions for the last few years, I have a pretty good idea of the usual ingredients, and I thought I would try to created something that would condition AND clean, because one less step is always better. So I grabbed a few things, mixed them up and decided to see how they worked. I used lemon juice for scent and cleaning power, a little olive oil, a little white vinegar (for more cleaning power) and topped it up with hot water. And here is the shot right after it dried.
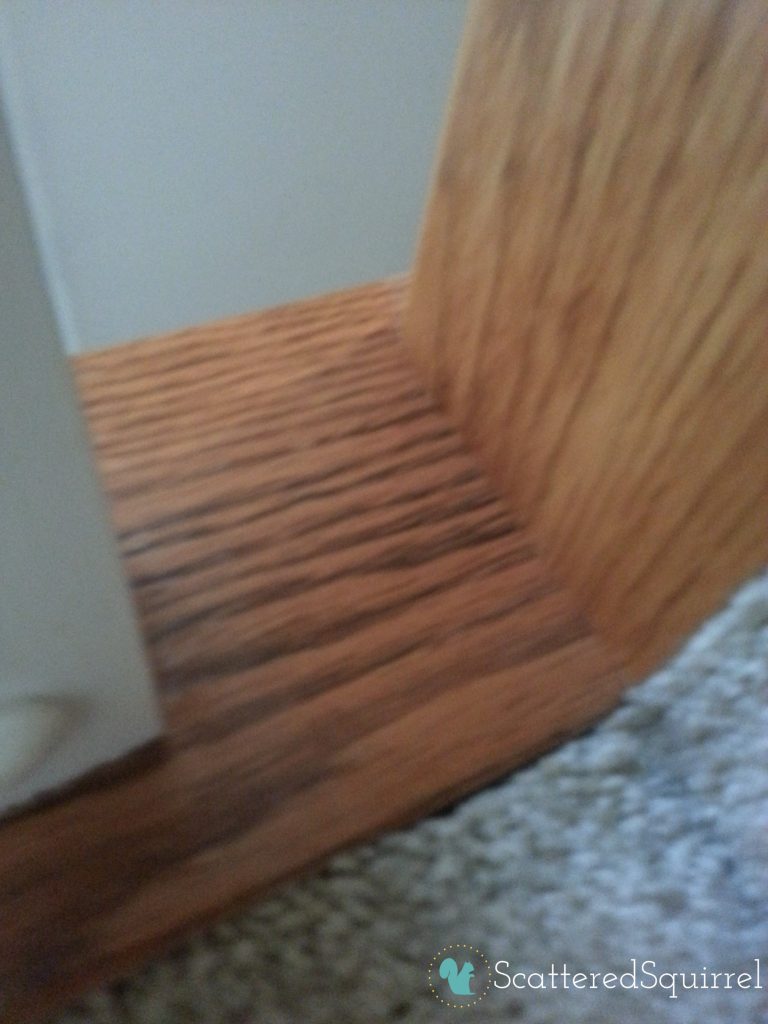
I apologize for the fuzziness, this was the only photo I grabbed on my phone, and since neither of our cameras are working well at the moment, phone photos are all I have. 🙁 But already you can see a difference, (and if you look closely you can see the spot I missed around the back there.) Now, the surface was still a little oily at this point. Not too bad, you could feel just a little when you brushed it with your finger tips. I had my fingers crossed that I hadn’t used too much oil because I did the whole stair case. Go big or go home right? Within about an hour the oil has soaked in and four days later this is what that same spot was looking like.
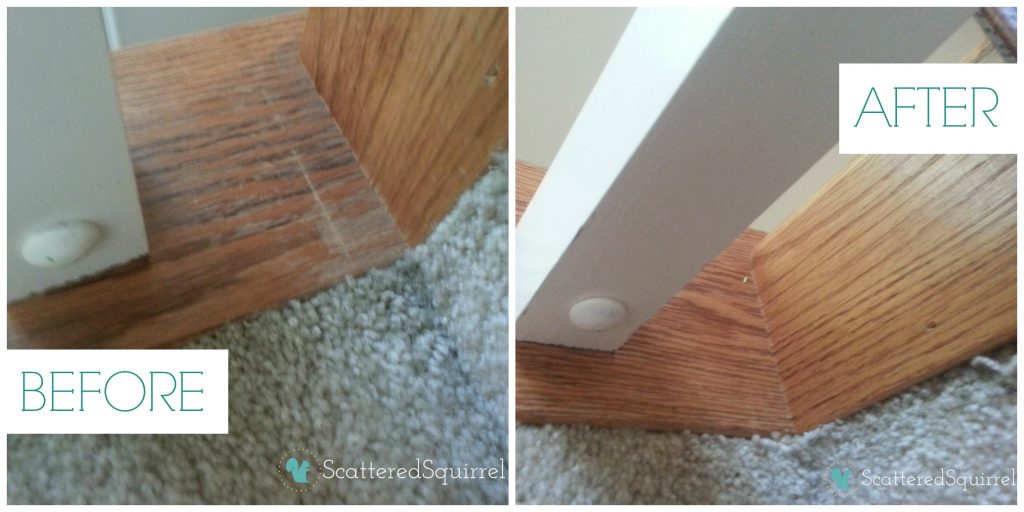
I am thrilled with the results of my DIY wood cleaner and conditioner. This riser was the worst spot out of the whole stair case, I’m not sure why, but it was, and to see it looking so much better is fantastic! Not only was I able to leave the wood on the stairs looking great, I was able to clean it at the same time. The hand rails were really the only part that needed cleaning. I wipe them down once a week, but it was nice to give them a little TLC this time around. I’m sure there is a product I could use to seal the wood, but since we’re just renting I would have to talk to my landlord about that first, and this is a good solution until then. It’s still looking like the picture above and it’s been 10 days. I keep checking to see if there is any change because I’m curious how long this will last. I plan to whip up another batch and tackle our kitchen cabinets, and all the wood furniture in our home this weekend. I’m that happy with the results. And because I’m that happy, I made up a printable recipe card in case any of you would like to give it a try.

Because I’m sucker for before and afters, and I’m still so thrilled that this worked out so well, here’s a side by side comparison for you.
Oh, and don’t forget, there’s only today and tomorrow to send in your request for this month’s printable. You can check it out here or on the tab at the top of the page.
Have you tackled any seasonal cleaning projects lately? Have any DIY cleaners that work well for you?